
Farmer Against Potatoes Idle


等待结束:IMR 即将登陆 Steam,现在你可以观看独家预告宣传片并将游戏加入愿望单! 🎮 什么是 IMR? 准备好让你的数值飙升吧!IMR 的核心玩法是升级、 prestige 和解锁宇宙级别的成长层次。从微小开始,不断壮大,将你的数值推向多元宇宙级别。指数级成长从未如此令人上瘾! IMR 多年来一直深受玩家喜爱,建立了一个忠实的社区,并证明了增量成长玩法可以多么令人上瘾和满足。 ✨ Steam 版有哪些新内容?- 全面重做设计,视觉效果和用户界面均有提升 - 代码库已移植以支持跨平台,为未来安卓和iOS版本的发布铺路(商店页面将在后续公布) - 更多优化、更佳性能以及额外的便利性改进 - 包含网页版中所有你喜爱的内容,并针对Steam平台进行了优化和扩展⏳ 发布窗口 🛠️ 自上次更新以来 自上次公告后,【农夫大战土豆:放置版】迎来了重大的超越更新,其中包含新的多人游戏系统,目前正在测试中。而REVO也获得了多项内容更新,包括新增矿物、元素、塔罗牌,以及最近的献祭、塔罗挑战和神器系统,此外还有大量的便利性和界面优化。 不过,由于我们的大部分资源都投入到了这三款游戏中,【割草放置】和WAMI的重制版仍在开发中。目前暂无确切发布时间,但开发工作正在稳步推进,一旦有更多内容可以展示,我们会立即分享更新。

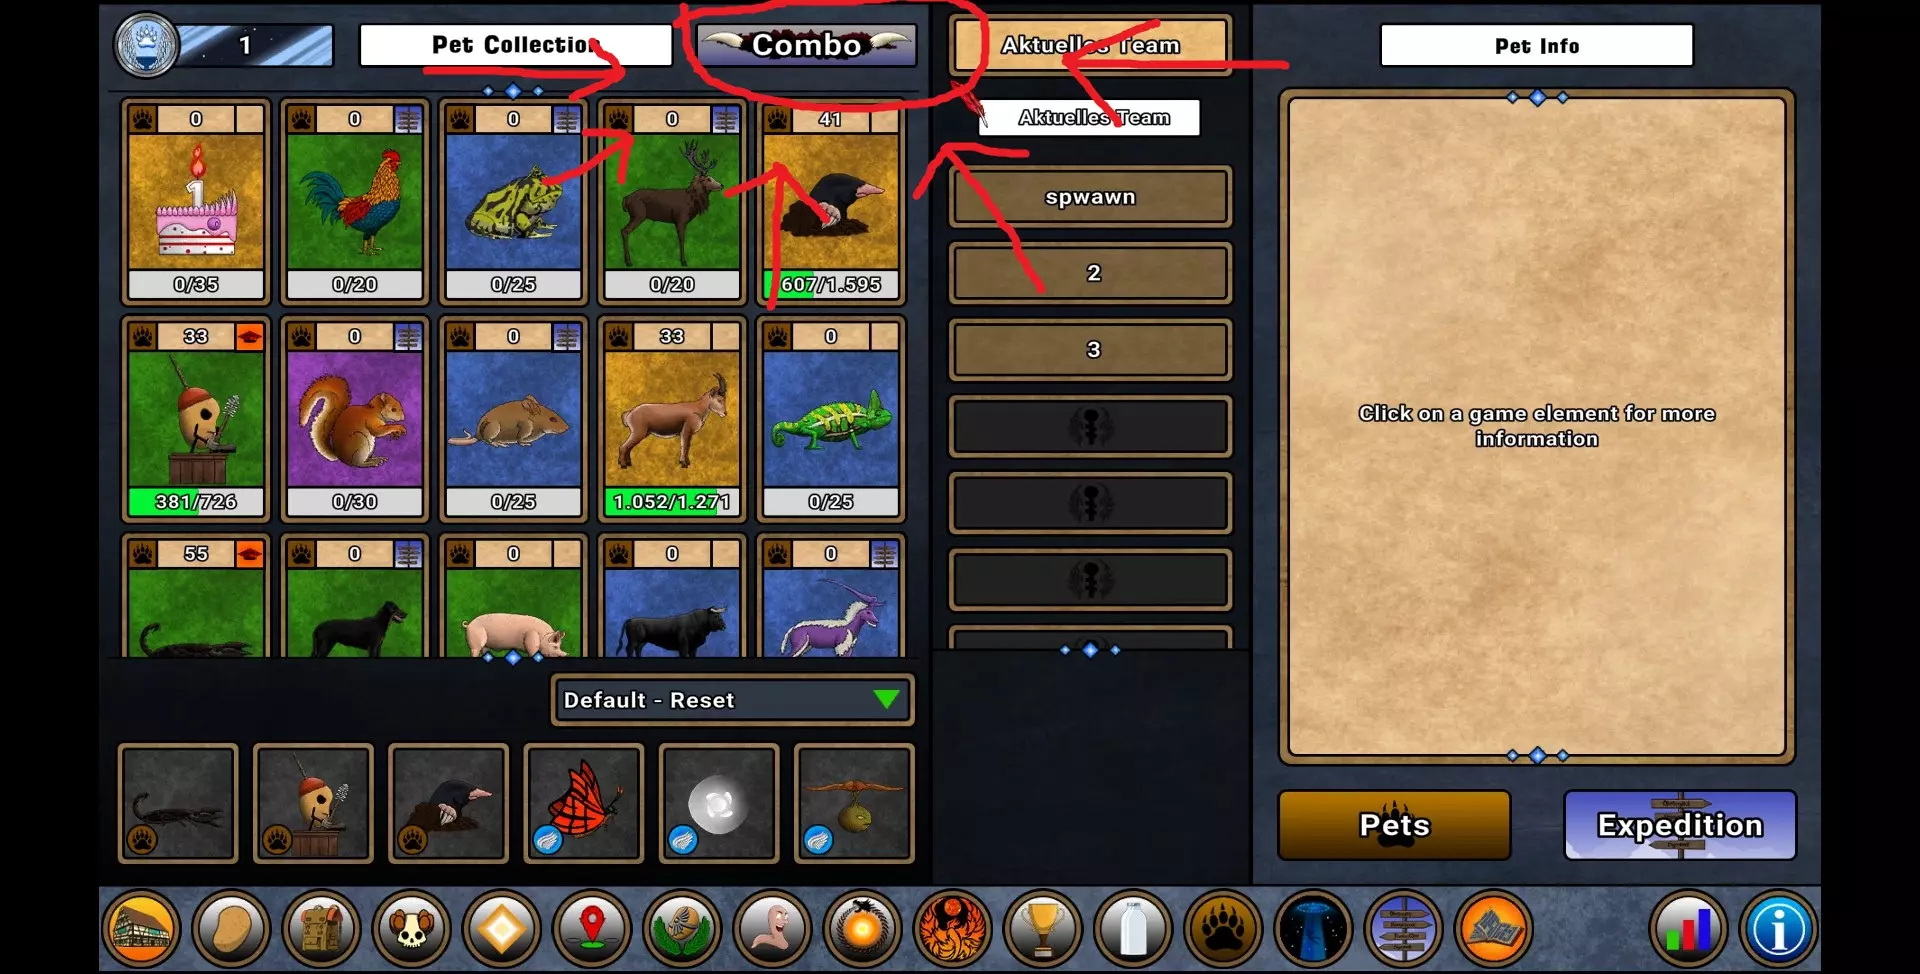
《农夫大战土豆》快速提升进度的小技巧指南 在《农夫大战土豆》(FAPI)中进行几次飞升后,你可能会想知道如何加快进度并在排行榜上获得更高名次。本指南正是为你准备的! 这并非深入指南,而是一份你可以/应该做的事项清单,助你在游戏中快速取得进展。精通《农夫大战土豆》需要综合考虑许多小因素,即使跳过其中一项,也可能意味着进度大幅减慢。这是一份帮助你快速推进到A11+的良好入门清单,不要跳过任何条目!本指南包含游戏剧透,如果你不想看到后期游戏内容,请立即停止阅读。 1. 组建一支优秀的队伍。你的宠物队伍应尽可能覆盖多种加成。宠物加成是快速取得进展的重要因素。理想的队伍组合可能是埃苏斯、毗湿奴、托克、女总督、迦楼罗、伊察姆纳,这样能获得14个宠物加成。更好的队伍是那些能够提升宠物攻击力或探险其他方面的队伍,你可以在游戏攻略中找到这些队伍。 2. 使用多支队伍。你需要一支能覆盖大部分加成的通用队伍,然后还需要专门的队伍来收集蠕虫/幼虫、轮回点数、道具 farming、牛奶 farming、重击分数等。 3. 确保你队伍中使用的所有宠物都长期处于探险状态,并且这些宠物的等级要尽可能高。用最好的宠物组建你的探险队,确保所有核心团队宠物全天候执行探险任务以提升等级。 4. 覆盖所有重要加成。即使缺少一项加成也可能造成很大影响。例如,我曾使用一个没有甜点宠物的队伍,因此多花了两天时间才通关第10层飞升。如果缺少关键加成,你需要时不时添加拥有这些加成的宠物,否则会落后。 5. 正确分配天赋点。通常,你需要按优先级顺序分配天赋点。首先点满所有转世节点,然后是残留物节点,接着是职业经验值(如有需要可适当后移),之后是宠物经验值、牛奶,最后是最大土豆和头骨。每个职业和轮回都应采用相似的天赋优先级,这样你就不会在没有获得轮回等级(RL)的情况下浪费时间进行轮回。 6. 轮回前务必检查轮回队伍的装备是否已配备妥当。 7. 经常更新你的装备。我通常每天都会刷一套新装备。你的物品评分每天应该提升约50%以上。始终尝试从关键的困难难度关卡刷取装备,例如3-9h、4-9h、5-9h、6-1h等。 8. 保持轮回时长在12小时以内。12小时后效率会大幅下降,因为你的评分乘数会变得非常缓慢。将所有职业升至满级,但大部分时间使用【 Freeloader 】职业。【 Freeloader 】拥有物品掉落加成,这些物品可用于强化装备,这使得【 Freeloader 】的效率比其他所有职业高出2到3倍。你需要进行职业挑战来提升其他职业等级,使其接近【 Freeloader 】的最高等级,有时也可以为了获取特定资源进行职业挑战,但尽量保持挑战时间简短。 这并非详尽指南。

每日可用代码: daily - 500灵魂和1瓶药水 一次性使用代码: frenchfries - 10000灵魂 Vegetable - 500灵魂 4000PotatoesTypes - 2瓶药水 100EdibleKind - 1瓶药水和250灵魂 IGotAPromotion - 5000灵魂和1个宠物代币【需1次飞升】 TheyKidnapedMe - 5000灵魂【需13次飞升】 BillyTheBuilder - 2500灵魂和6瓶建造/采矿药水 联赛专用代码: LeagueLover - 5000灵魂和3瓶药水


各位农夫们,大家好! 我们计划在明天或周三推出一个新补丁,具体时间取决于最终检查的结果。此次更新将包含新【多人游戏】系统的代码模块,让大家有时间下载并做好准备。 从周四开始,我们将正式开放访问权限,届时所有人都可以加入并一起使用和测试【多人游戏】功能。这是游戏的一个重要里程碑,我们非常期待大家体验。 新功能的完整细节将在即将发布的补丁说明中公布,但我们想先让大家快速了解测试的大致内容: 测试赛季将包含20个首领,根据进展情况,有可能会扩展到25个。请注意,当前处于测试阶段,因此测试赛季结束时将不会发放赛季奖励。


等待结束——经过比原计划更长的测试阶段后,本次更新带来了三大全新系统。基于各位的反馈与建议,此补丁还包含大量修复、平衡性调整及稳定性改进。 此外,两款周年宠物将再次限时开放捕捉。 **超越** 传送门故障将你送回早期的飞升阶段——但带来了新的可能性。 • 全新 prestige 层级:解锁此前无法触及的飞升 • 攀登前 5 次超越 • 缩放加成:在超越阶段停留时间越长,其效果越强 • 新增超越统计数据 **永恒** 故障还释放了新的敌人。• 解锁第4种难度 • 独特敌人等级调整 • 奖励根据你达到的最高波数进行调整(每25波) 遗物 在传送门碎片旁发现了奇怪的物体…… 收集新的稀有资源!升级你的宝石以解锁宝石的全部潜能 探险与 farming • **探险奖励重做**:土豆、头骨和蠕虫现在可在传送门内掉落 (快照机制已不再可行,也不再需要) • **farming、装配和蚱蜢的计算优化**(尤其在离线时) • **新增多种购买/操作的长按点击功能**(QoL) • **在 farming 商店(Unique 区)添加“全部购买”按钮** 灵魂商店 **新增灵魂商店升级项** • 额外的宠物和探险配置槽位 副职业与配置方案 **这是长期以来最受玩家请求的 QoL 功能之一,现在我们终于实现了。**• 新增撤销选项和子类天赋一键切换功能 • 新增子类天赋自动分配功能(仅在“超越”模式中可用) 为确保与新系统的兼容性,子类天赋和配置已重置 其他、界面及稳定性 • 移除SWP/SKP Ascension Reduction上限 • 移除“永恒”模式占位符(挑战/实验室) • 修复了多处拼写错误、不一致问题,并改进了翻译——感谢您的报告和反馈。• **新增**:信息详情中添加了宠物等级显示 • **新增**:可禁用宠物最大晋升动画的选项 • **调整**:轮回商店按钮移至轮回窗口内 • **修复**:切换职业或传送门不再会将玩家传送到未解锁的更高区域 • **修复**:贸易中心未建造完成前无法打开 • **新增**:信息页面和排行榜数据 • **修复**:打开信息界面时不再显示未解锁功能的信息 • **优化**:持续改进并修复移动设备稳定性问题 • **优化**:“永不分解最高稀有度”设置现在也会防止离线奖励中的装备因HS过高而被分解 但这仅仅是开始——全新的MP系统、性能更新,以及基于玩家反馈的超越系统第二部分(包含新功能和更多便利性优化)已在开发中。已知问题:在《永劫无间》中处于离线状态后重新连接时,每波敌人数量可能会计算过高。切换区域可解决此问题。修复工作正在进行中。

Some Easy and Fast Tips to get you game moving and open up new features. Hints and TIps Farmer Against Potatoes Idle Hints/Tips (from Beta) Shadeofnight’s opinion * You want to push for Reincarnation as your first target (and you might as well trigger it as soon as it unlocks). This will allow you to start earning reincarnation points, which can buy some very powerful bonuses. You will find reincarnation (even ignoring the points you get for spending), is the largest boost to your stats and income bare none for a long while. * Do your Daily Quests for souls each day (they add up and you will have everything you can buy before you know it). * Whack has a few bonuses that are critical to get ASAP (the most important one being Lower Cow Cost). It will take a bit of time to build up the points you need for this, so do not be afraid to buy a lot of page one to make later whack pushes worth more. There is also whack gear in later worlds that will increase your score a crazy amount. You will also get some cow reduction reincarnation bonuses you can buy around 750 RL (reincarnation level). * The first few sets of gear will be replaced fast, but even so, do not be afraid to upgrade them(I would say starting with Tier 3, blue), as the early tier materials are also almost worthless once you get 2 tiers above it (which you will do lighting fast up to Tier 6). So using them on current gear is actually better for you than saving them. * Do not worry about making super powerful gear at first. You will ascend before too long and you lose all of your gear (also another reason not to save material forever). Good is the level of gear you are looking to get unless you want to push whack very hard (as it does not reset when ascending). * When you unlock cows, you want to buy your first cow right away (even if you do not have all of the discounts as yet). Grind for it if you have to. This is because when milk starts, it also generates residue which can give you some very powerful bonuses, and the number of cows does not affect how much residue you earn, you just need one to start the process. * For soul purchases (if you are not buying a lot to start), I value the class/potato/skull ones first as they are all straight up power increases. Then I go for QOL auto potato/skull followed by auto material (which if you are not near your computer that much this buy is actually one of the more powerful QOL but straight up power boosts ones). This is then followed by auto whack (I normally do not start with this buy as whack is very weak until you level it a bit). Everything after that is mostly personal preference, but you will aim to get it all sooner or later. * As for challenges, you normally want to do the first one around the time you unlock it, and it will not hurt you to do the first 2 challenges more or less as they open (and you can always cancel a challenge if it looks like it will take too long). There is some debate on when do to challenge 3 and 4. If you do them right when they unlock (before you ascend the first time), they will take 8 to 16 hours on average to complete. If you wait a bit of time to get stronger, they will take a lot less time. It is challenge 7 and 8 (before you ascend the first time), that have a rule of thumb before trying. I recommend getting to calcium generation (which takes a bit of time to unlock), before trying. Once you ascend the first time you can do it with just high level brewing, and then later ascend more you can do it the moment it unlocks. * Once you unlock unlimited challenges I would personally ignore the “easy labor begone”, as you will almost never use it. The Medium labor one is nice, but it takes a while before you can push it that far. The reason for this is the medium will turn on after you finish a challenge, but the easy will not. And you should almost ALWAYS ALWAYS ALWAYS start a new run with the unlimited challenge for that class, as it would be very rare for you not to be able to push at least one more state each time you cycle back to that class for higher bonuses. * Talents have all kinds of options and what you buy depends on what you are pushing at that moment, but with that said, unless you are pushing gear/wurm/milk/brewing, the two most important stats most of the time are class and reincarnation. Class is the base stat for reincarnation, and reincarnation speaks for itself. I personally like the 3K Hoer area as my primary target (and I try to get to it from everywhere once I get into RL 4k). The bonus to both class and con is just so powerful it is hard to justify anything else. Then I start to go for the Farm 3k (as a bit of bonus to everything is normally overall powerful, rather than focusing on one thing, unless that is the point of the entire run). * Some people like to focus on getting multiple milk or brewing bonuses (there are all in the 3k areas), but I find once I have brewing unlocked, that one of each is all I need most of the time, until I max reincarnation bonuses. * Do not forget your 2 15 point unique talents per class. They are all very nice, but the 3 more powerful ones are the wurm/gear/milk bonuses. If I am in those classes, those 2 talents are always bought. * One trick to get the best gear is to do the highest level (medium or hard), in the highest world you can handle, and then wait for the gear buff to kick from whack. Then you can turn on your gear potion, for double bonus and get the best gear of that run. * Other tips: Each higher difficulty increases the number of stages you can go in a world by 100 (100 for easy, 200 for medium and 300 for hard). You will also earn more class exp in a higher level difficulty at a lower level stage most of the time. This means for a boost to your reincarnation, you can do all of the medium you can for higher waves beat bonus” Unlocks Useful unlocks to know: 1-4-50 Confection 1-8-50 Reincarnation 2-2-50 Challenge Open up 3-6-50 Infinity Challenges * thanks to Brookz for remembering when all of these happen


开发者在哪里找? 代码和优惠码 Daily - 每日使用。(500灵魂 + 随机药水) Frenchfries - 10。000 灵魂 Iwashere - 仅为【元帅】皮肤( cosmetic code) 125Country - 2瓶药水 TheyKidnapedMe - 5000灵魂(首次飞升后可用) ThomasJefferson - 250灵魂和1瓶药水 7pounds1ounce - 500灵魂 ThanksOninou - 2500灵魂 FirstGrownInSpace - 2瓶药水(所有种类) ForSpaceColonies - 所有种类药水和250灵魂 Feedtheastronauts - 500灵魂 新的兑换码!(万圣节) SpookyCart - 【幽灵马车】皮肤 Skeleton - 【骷髅农夫】皮肤 【注意】 SpookyCart和Skeleton可能无法使用!若添加新的优惠券,会附带说明其提供的内容。


此前已实施但未记录的热修复: • 修复了IR等级高于预期的问题。 • 修复了超越后子类天赋仍保持激活状态的问题。 • 修复了子类天赋在未满足解锁条件时仍可被选择的问题。 • 临时移除了MP导航按钮。 • 略微提高了探险中宝石的掉落率。 更新说明: • **MP点数加成已重新设计**,以提供更平滑的进度并防止出现极端异常值。解锁这些加成现在与升华等级相关联,而非直接与点数挂钩,从而更好地与超越系统保持一致。 • **徽章打印机的功能已进行调整和重新设计**。由于未提供具体游戏名称,无法按照规则优化标题,以下为内容汉化: 由于这是一项重大变更,已添加一次性退款代码以退还灵魂商店升级项“Cockade Printer”:RefundPrinter • **灵魂商店中土豆/swp、骷髅/skp和职业经验值的升级项未提供预期加成,现已修复。** • **在特定条件下,飞升可能会授予过多的飞升点数。飞升特权已重置一次,以恢复正确且一致的状态。** • **飞升等级6和9未能按预期正确退还土豆/骷髅移除的飞升点数,现已修复。** • **修复了周年宠物保底概率在已拥有该宠物后仍继续增加的问题。** • **宝石已进行轻微平衡性调整。**### 更新内容 1. **调整了探险宝石掉落机制**,以减少随机性并提高稀有宝石的获取概率。 2. **修正了活动开始界面的文本**。新的活动代码仅可通过Discord获取。 3. **发电机滑块现已无法移动**。 4. **修复了iOS设备上存档系统无法正常工作的问题**。 5. **修复了若干可能导致新游戏或二周目(NG+)出现异常行为的小问题**。 6. **修正了部分拼写错误**。 7. **补充了缺失的翻译内容**。
