对于国人玩家来说,在众多游戏题材中,武侠游戏无疑是最特殊的。现在2026年正好过半,本篇文章我们就来盘2026年上半年能够玩到的武侠游戏,看看有没有你感兴趣的。
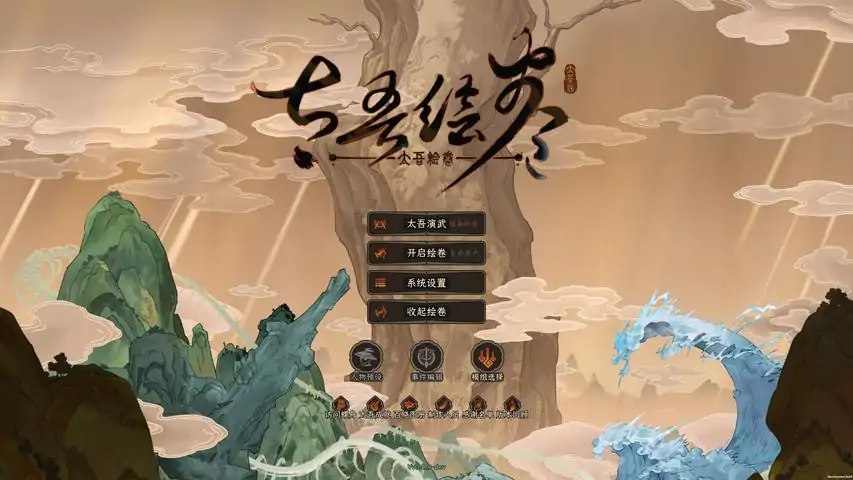
《息风谷战略》
《息风谷战略》是一款地域压制型武侠策略RPG,本游戏的玩法被玩家类比为"武侠版《战国兰斯》"。
玩家扮演虎焰门新晋掌门司徒来也,在一场突如其来的灭门惨案后,需要在一张固定的大地图上发展据点、招贤纳士、分析形势并部署战略,通过地域压制的形式逐步蚕食敌对势力,最终重振门派荣光并揭开息风谷尘封的江湖往事。
《息风谷战略》采用经典的地域压制作为策略环节的核心玩法,同时还融合了大量围绕门派展开的经营模拟要素。玩家需要合理利用手上的资源,在已方回合中慎重思考每一次行动。
门派角色各有独特的武功技能与定位,地形与站位在战斗中会产生实质性的战术影响。游戏内置了丰富的剧情分支与角色养成线,不同门派的结盟、敌对与背叛都会随着玩家的决策产生连锁反应。
《息风谷战略》的战斗系统将以回合制的模式呈现。在战斗开始前,玩家需根据战场局势合理规划上阵的角色和他们的站位,以在后续的战斗中抢占先机。
游戏的战斗过程分为“谋略”和“战斗”两个阶段,其中谋略阶段需要玩家手动选择准备释放的功法,进入战斗阶段后,双方角色将依次行动,使用功法攻击敌人、为团队提供增益或是保护受伤的队友。