
Motor Town: Behind The Wheel


《Motor Town: Behind The Wheel》0.7.18+1版本更新内容 1. 变更内容 ①【服务器】服务器设置更改日志已添加至服务器日志 ②【货运】护送任务中,当您离开护送车辆后,任务将在计时器结束后取消(感谢Blanco Bianco、YOUYU、Coro) ③【优化】服务器优化 - 货运同步优化 2. 问题修复 ①【公司】公司车辆在有对向路线的十字路口处卡住的问题(感谢Zemalf) ②【货运】修复了7.17版本中的重复自定义调校可能在7.版本上传至创意工坊的问题18(感谢omnihil) 【货运】护送任务中自卸货物未支付报酬(感谢bobmcbobface、schwoot、Finnian 'Finn'、uni) 【货运】补贴政策下的免费燃油漏洞(感谢Toll99、DEATH) 【货运】原木出口有容量限制且不会重置(感谢Zemalf) 【房屋】初始房屋的家具放置界面无法使用 【音效】雨水音量选项无效(感谢YaBoiUnreel) 【界面】Jemusi 日志卡车在信息面板中缩放过近(感谢JubeNaattori) 【世界】多人游戏客户端中货运点地图图标缺失(感谢Dark Shadow)


Краткий обзор тюнинга автомобилей - что к чему и за чем идёт, на что влияет и как это применять. Данный гайд - вольный перевод аналогичного английского руководства, приведённого в сообществе. Двигатель Радиатор - Охлаждает ваш двигатель. Нагревание двигателя прямо пропорционально количеству оборотов двигателя - чем они выше, тем сильнее и быстрее он греется. Большой радиатор обеспечивает более высокий минимальный порог критического нагрева и меньшую скорость нагрева двигателя на высоких оборотах двигателя. - Все автомобили выигрывают от большего радиатора, но запчасть прибавляет вашему автомобилю веса. Впускной коллектор. - Впускной поток определяет, когда ваш двигатель достигает пиковых оборотов и максимальной мощности (л.с.). - Короткий впуск подойдёт для автомобилей, которым необходимо быстро разгоняться, например как дрэг-кар или гоночный автомобиль. - Длинный впуск позволяет автомобилю достигать большей максимальной скорости. Двигатель - Чем больше мощность двигателя, тем быстрее вы едете. - Будьте уравновешены, ведь мощный двигатель много весит и не всегда подойдёт для конфигураций где это важно, например дрифт-каров. Турбокомпрессор - Тут всё просто - ставишь турбинку и твоя шаха начинает реветь как ишак и шлифовать резину. Это классно на любой конфигурации. - Турбина также утяжеляет автомобиль. Коробка передач - Тут можно много разглагольствовать на тему передаточных чисел и КПД, поэтому ограничусь сухими фактами: Чем меньше количество передач в трансмиссии, тем быстрее ускорение, но меньше максимальная скорость. Соответственно, чем больше количество передач, тем медленнее ускорение и выше максимальная скорость. - 4 скорости подойдёт для маслкаров и дрэг-каров, 5 скоростей и больше - для средних гоночных/дрифтовых/внедорожных автомобилей. Регулировка передаточных чисел - Опять же, не будем разводить демагогию: Чем ниже передаточное число, тем медленнее будет ускорение, но выше максимальная скорость. Чем выше передаточное число, тем быстрее ваш автомобиль будет разгоняться, но станет ниже максимальная скорость. - Для большинства автомобилей оптимальны значения от 4,27 до 6,5. Выходить из этой зоны советуется только для создания особой конфигурации (высокая максимальная скорость или дрэг-кар). Блокировка дифференциала - Блокировка дифференциала подходит для внедорожников. Она заставляет оба колеса на валу вращаться с одинаковой скоростью. - Односторонний дифференциал (1.0) будет иметь только принудительную блокировку для ограничения проскальзывания при ускорении. Подходит для трековых/гоночных автомобилей. - 2-ходовой дифференциал ограничивает проскальзывание как при разгоне, так и при движении на пониженной передаче. Отлично подойдёт для дрифта и раллийных автомобилей. - 1,5-ходовой дифференциал на самом деле является 2,0-ходовым дифференциалом с разной степенью блокировки между ускорением и торможением. Подходит для трековых/гоночных автомобилей. Тормоза Тормозная мощность - Какое тормозное усилие применяется при торможении. Подвеска Стабилизаторы - Стабилизаторы поперечной устойчивости определяют, насколько ваш автомобиль опрокидывается на поворотах или во время движения по бездорожью. - Наличие низких стабилизаторов поперечной устойчивости может быть полезным для определенных автомобилей, таких как дрифт-кары и гоночные автомобили, но, как правило, вам нужен жесткий стабилизатор поперечной устойчивости, чтобы ваш автомобиль не опрокидывался. Подвеска - Определяет жесткость подвески, а не высоту дорожного просвета. - На более тяжелых транспортных средствах или транспортных средствах, которые должны буксировать большой вес, следует использовать более жесткие пружины. Более легкие автомобили не нуждаются в жесткой подвеске, иначе они плохо управляются. Амортизация подвески - Она в основном определяет, как быстро ваша подвеска возвращается в нормальное состояние после сжатия. - Низкий процент лучше подходит для гоночных/дрифтовых автомобилей, а более высокий – для бездорожья/больших автомобилей, которым требуется мгновенная пружинная отдача. Высота подвески - Изменяет клиренс автомобиля. - Более высокий клиренс может быть полезен для внедорожников, поскольку им необходимо преодолевать труднопроходимую местность. -Также позволит вам идентифицировать себя как члена гей-группировки БПАН посадив ваш корч на брюхо. Колёсные проставки - Увеличивает ширину установки колёс. - Как и в случае с дорожным просветом, это почти не влияет на производительность и предназначено только для внешнего вида. Комплект поворотного механизма рулевого управления - Регулирует степень поворачиваемости автомобиля при рулении. - Эта модификация может быть полезной для некоторых дрифтовых/гоночных автомобилей и полуприцепов. Также позволяет сделать поездку более комфортной. Шины Шина - Изменяет высоту профиля шины влияя на управление автомобиля в различных условиях. - КМ1-65 и Внедорожная шина хороши для бездорожья и повседневного вождения - Sideway для дрифта - КМ1-45 и КМ2-45 идеальны для трековых и гоночных автомобилей Диски, аэродинамика, доп. оборудование Все модификации из разделов Диски, Аэродинамика и Доп. оборудование играют косметическую роль и никоим образом не влияют на ходовые характеристики автомобиля. Доп. оборудование позволяет получить на некоторых автомобилях лицензию водителя автобуса, таксиста, или установить сцепное устройство для присоединения к автомобилю маленького трейлера.


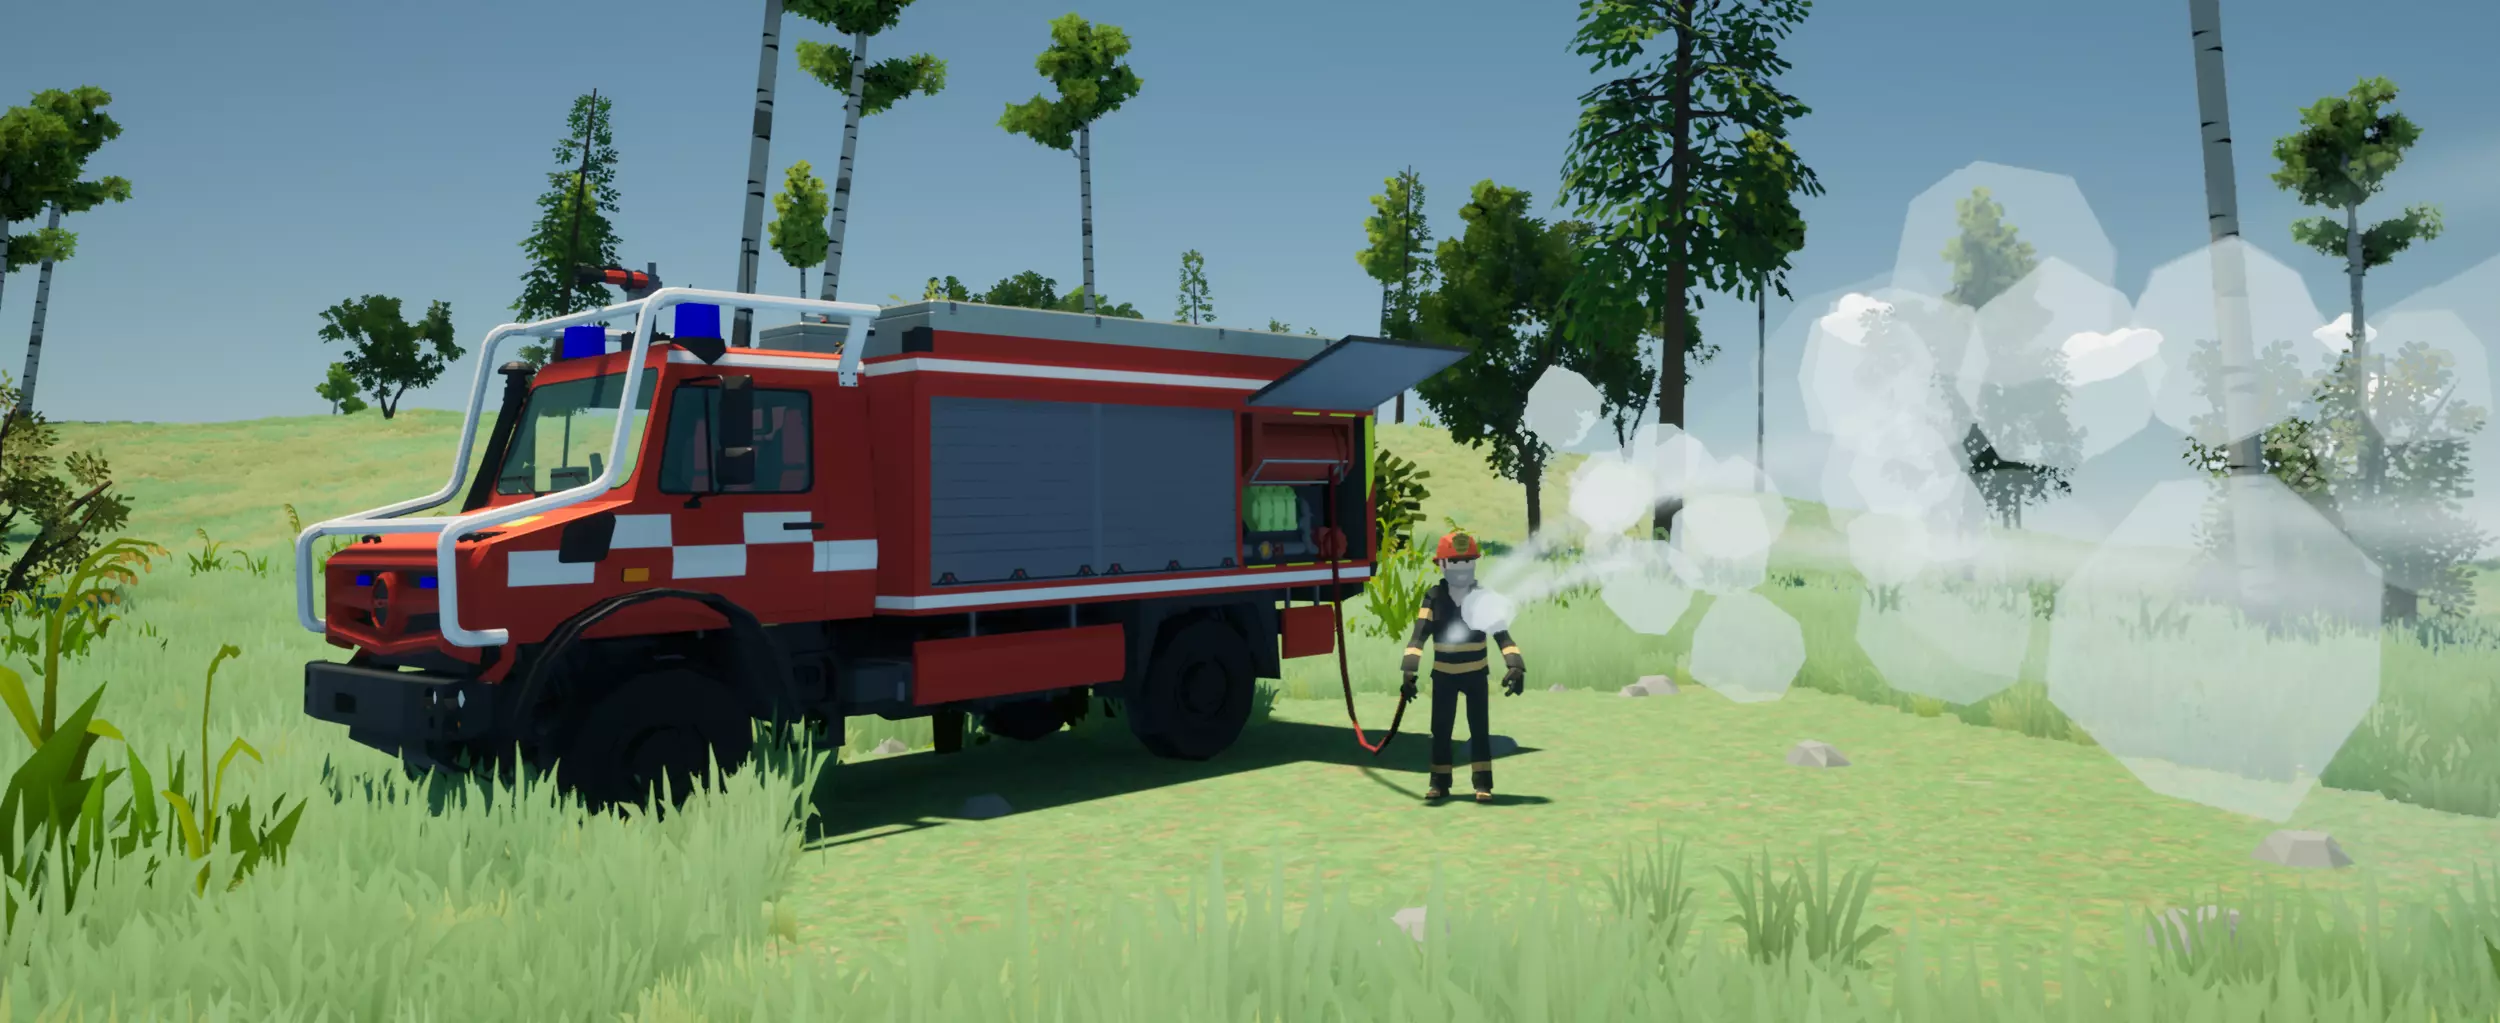
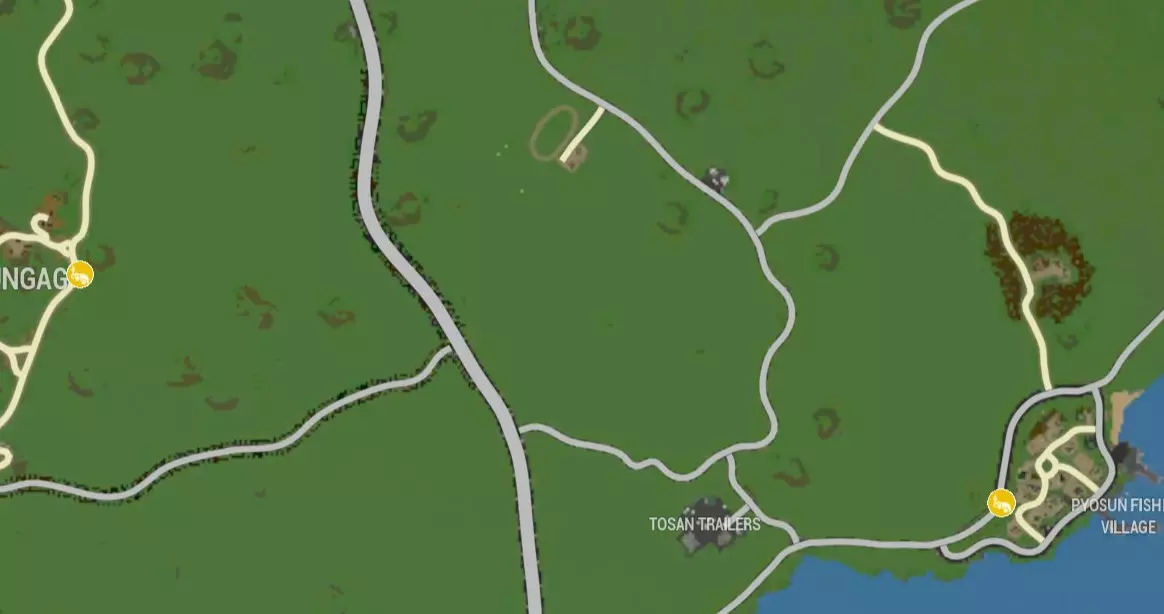
The in-depth guide for drifting - Made by Laytxn This goes into literally every section of the upgrades as well as your assists. Tyres Tyres are a crucial point of a drift tune. Too much grip and you wont slide, too little and you spin out. Given the tyres now have a visible grip factor to them (you can see this at any tuning shop when you select tyres) it makes it a bit easier to select tyres. If you start with sideways all round, that gives you an opportunity to see whether the car needs more grip or even less grip. (See images 2 and 3). - Rear tyres: If you're spinning out too much I'd suggest swapping your rear tyres to km1s (45 or 65, it doesn't matter too much as they have the same grip factor). If this is still the case then place KM2 45s on the rear. If you're still spinning out revise your suspension setup. This is because KM2s are the grippiest tyre we have in the game (as of March 2025). - Front tyres: These control how smooth and how quickly you will transition from drifting left to right (and vice verse). The less grip you have the slower your transitions will be, however they will be smoother and easier to control. If you have grippier front tyres, you will transition much faster however it will snap which can be hard to control. Engines This is the heart of your build, the powerplant. If you choose something with too little power you will likely fail with trying to drift. A good recommended engine for drifting would be a 320hp V8. However, this can depend on the weight of your car. Some cars can drift with as low as 150hp (150hp i4), you can find the weight of vehicles on this website: https://motortown.info/ (credit to @webdestroya) *It is worth noting that you should run the large radiator for drifting to prevent overheating.* Springs + Dampers - Springs: Springs affect the stiffness of your suspension at their most compressed or decompressed state. Softer springs will let your tyres travel farther before being compressed by the springs. However this leads to a softer feel within the suspension which isn't really wanted when drifting. Stiff springs will stop the tires from moving much at all. It also stiffens the feel of your vehicle and is more ideal for drifting. Finding the perfect balance between stiff and soft is what you should aim for. I recommend starting around 200% and increasing/decreasing as necessary. - Dampers: Dampers improve the overall stiffness of your suspension. They are the main thing you will tweak to change how your car absorbs bumps. You should aim quite high for this to make the car stiffer. Stiffer is better when it comes to dampers. Angle Kits Angle kits increase the amount of steering angle you can have. When tuning a vehicle you should always start at standard angle for drifting. This will give you a base to work on. If you can nail a tune without adding angle then there is no need for the added angle. If you struggle you can add +5 and see how you get on. If you still struggle you should add +10. If you still oversteer and spin out when using +10 angle you should revise your suspension/tyres to make the rear end a bit more grippier. Wheel Spacers Wider spacers will add stability, narrower spacers will make your car more "squirrely", though the effect is very subtle. I tend to rock with what looks good on the car I am creating (good fitment is completely optional however). Credit to @Vormir for the science behind this section Anti-roll Bars These affect how much your body rolls. Cars in MotorTown have some pretty bad body roll which can affect your drifting and make them feel sloppy. To counteract this you usually want your anti-roll bars pretty high. I personally rock 200% to completely eliminate body roll. Ride Height While ride height can affect your vehicles feel you usually want your car lowered to make it feel more stiff. If you raise the ride height you'll make it feel softer as you're allowing the springs/dampers to have more room to travel. Sometimes the standard ride height is good enough to drift with. I usually run what looks right (I'm an advocate for good fitment). LSDs There are only 4 options of equipable LSDs you can have for your car in MotorTown. Those are: Locked diff - This is where the diff is always locked. Imagine a welded diff. That's what this is. (Most preferred for drifting) 2 way LSD - This is where the diff is only locked under acceleration. It is open upon deceleration when you have 0 throttle input. 1 way LSD - This allows for some slip while you're accelerating. It is completely open however while you are decelerating. 1.5 way LSD - This is similar to a 1 way however when you are decelerating, the diff is 30% locked, allowing for limited slip. Turbos! In MotorTown there are 2 types of turbochargers in the game (as of March 2025). Those are: Stock turbo: This is a small turbo. It allows for quick boost build up (boosts from 2000rpm) however it lacks power in the higher end. (Preferred for low speed drifting) Stage 1 turbo: This is a larger turbo. This starts to spool up from around 4500 RPM. This creates lag in the lower half of the revs from the engine. (Recommended for higher speed drifting) Intakes There are 2 intakes in MotorTown, long and short. Long allows for more torque however has slightly less throttle response. Short allows for more power and has a slightly faster throttle response time. Gearboxes In the game there are 7 different types of gearboxes. We have Daffy/4 spd muscle/4spd sports/5spd sports/6spd sports/HM6/EV 1 speed. For drifting I recommend a 5 or 6 speed gearbox. The HM6 has the gears spread quite far apart (due to it being for luxury/comfort driving). The 5 speed has distant gears however they're all within the powerband. If you're doing high speed drifting I'd recommend the 6spd sports gearbox because the earlier gears are distant from eachother however gears 5 and 6 are quite close together, allowing you to probably use them interchangably. Final Drive Ratio (FDR) Final drive alter the speed which your car travels, the lower the number the higher top speed you have(eg. closer to 1), the higher the number (eg. 7) the more acceleration you will have, but a lower top speed as a trade off. In MotorTown there's a plethora of FDRs to choose from. Due to this is can become quite worrying which is the correct one to use for your drift car. If you're doing slow speed drifting you'll want something that is a 5 or higher, this allows for your car to accelerate quite fast. If you're doing high speed drifting I'd aim your FDR closer to the 4 region or maybe even lower. This all depends on how fast you plan on drifting in accordance to the area you are planning to drift around. Wheels and Body kits Wheels: While the wheels in MotorTown have different weights to them. If your drifting something using the v8 240hp or higher it doesn't matter what wheels you choose, go for what looks nice in the vehicle you're using. However if you're using a less powerful engine you'll want to go for a lighter wheel, aim for something that's 15kg per wheel or less. Body Kits: In an update from August 2024, body parts now have aero and drag factors. While these do have an affect in how you may tune your vehicle, in low speed drifting I haven't noticed much of an affect. For low speed drifting I would suggest going with what looks good. For high speed drifting I still suggest the same, however experiment with the different body parts. Some might have an affect on your drifting which may benefit you. Assists There are multiple assists in the game available to be tweaked. Below will be a list of what you should change. Traction Control Strength - This should be set to 0 to completely disable traction control. Stability Control Strength - This should also be set to 0 to allow you to drift your car more stabley regardless of high or low speed drifting. ARP (Active Rollover Protection) - This should be set to 0%. I dont know why but it has an affect while drifting. (not 100% sure on this assist) Assists to change based on level of skill: If you're struggling to drift here are some settings you can increase/decrease to help you drift. -Keyboard/Gamepad Steering Speed: If you're transitioning too slow you should increase this assist until you find something comfortable. This changes how fast you can steer left or right. Steering Assist Strength: This is how much the game helps you to steer. If you're struggling put this close to (or on) 100%. This will allow you to hold the opposite angle while steering with ease. With the other assists you can adjust as you feel like. These are the main assists that will affect your drifting.


This is a guide to help players who do not understand what certain modifications do in the Tuning Shop. If anything on this list is wrong or confusing please comment and I will fix it! Powertrain Coolant Radiator - This part allows your engine to stay cooler at higher Revolutions Per Minute (RPM), the larger the radiator the cooler your engine will stay and the less it will overheat. - All vehicles benefit from larger radiator unless you are worried about weight. Intake - The intake flow determines when your engine hits its peak RPM and Horse Power (HP). - Short intake is used for cars that need to accelerate fast such as drag or some race cars, long intake is used if the car needs to reach high speeds. Engine - This is pretty self explanatory. The larger the engine the more powerful, but also it will weigh more. Keep that factor into consideration when trying to find the engine for you. Turbocharger - A Turbo is basically just a powerspike for your car, after a certain amount of RPMs the Turbo will kick in and deliver a lot more power to your engine. - Turbos can benefit mostly every car, especially race/drag cars. The only downside to consider is weight. Transmission - This is kind of hard to explain if you don't understand gear ratios and gear changing, but I'll try to explain it as best as I can. Basically, each gear can only handle so much RPMs, and controls a zone that you can go in. For example, 2nd gear might determine that you go 30 MPH at 5000 RPM, or gear 3 could make you go 30 MPH at 2000 RPM. The only important part to really understand is this: The lower the number of gears in the transmission the faster the acceleration but it will have lower top speed, and the higher the number of gears means slower acceleration and higher top speed. - 4 speed should be used in muscle and drag cars, 5+ is good in average racing/drifting/offroading vehicles. Final drive ratio - This relates to the gear ratios I was just talking about above. Basically, the FDR determines how much RPM each gear can handle. The lower the FDR the slower the acceleration will be but also it will make your top speed higher. The higher the FDR your car will have faster acceleration but lower top speed. - Most cars can benefit from an FDR of somewhere from 4.27-6.5, you only really need to go out of those zones if you are trying to create a specialized vehicle (reaching top speed or drag racing). LSD - The Limited Slip Differential (LSD) allows certain wheels to spin independently or limited of other wheels on the shaft. - Locked Differential is for off-roading vehicles. This makes both wheels on the shaft rotate at the same speed. - 1 way differential will only have a positive lock to limit slip during acceleration. This is good for track/race cars. - 2 way differential will limit slip during both acceleration and deceleration (in gear off throttle, not the vehicle’s brakes). This is good for drifting and rally cars. - 1.5 way differential is actually a 2.0-way differential with different lockup rate between acceleration and deceleration. This is good for track/race cars. Brakes Brake Power - How much brake force applied when breaking. Suspension Anti-roll Bar - The anti-roll bars determine how much your vehicle tips around corners or while off-roading. - Having low anti roll bars can be beneficial to specific cars such as drift cars and race cars, but generally you want stiff anti-roll so your vehicle does not tip. Suspension Spring - Determines how stiff your suspension, not the same as Ride Height. - Stiffer springs should be used on heavier vehicles or vehicles that need to tow a lot of weight. Lighter cars do not need stiff suspension otherwise they will not steer well. Suspension Damper - These basically determine how fast your suspension returns to normal after being compressed. - Lower percentages are better for race/drift cars while higher is better for off-roading/larger vehicles that need instant spring push-back. Suspension Ride Height - This makes your vehicle higher or lower. - When to use this is completely up to you, and mostly just for looks. Higher ride height can be beneficial to off-roading vehicles as they need to clear difficult terrain. Wheel Spacer - This is how much you want your wheels to stick out from the car. - Just like Ride Height, this has almost no effect on performance and is just for looks. Angel Kit - This is how much you want your car to turn when steering. - This modification can be beneficial to some drift/race cars and semi-trucks. Test out a few and see what you prefer because its basically up to making your ride more comfortable to drive. Tire Tire - Tire profile determines how thick your tires are, and depending on thickness it can improve your ride for different environments. - KM1-65 and Off-road are good for off-roading and casual driving - Sideway is for drifting - KM1-45 and KM2-45 are beneficial to track and racing cars Wheel Wheel - These are completely cosmetic, you can use whatever you think looks good. Keep in mind weight. Aerodynamics - Everything under this category is purely cosmetic and as far as I know has no benefit to performance. Etc Headlight - Some cars can have their headlight changed, up to player preference. Taxi License - Allows the player to pick up hitchhikers when Taxi License is installed. Trailer Hitch - Allows player to tow small trailers when hitch is installed. Lower or Riser can be used depending on your ride height to comfortably pull the trailer.


阻尼从200%左右开始调整。如果感觉车辆操控过于松散,就调高数值。我通常会将阻尼设置在300%-400%之间。 目标是减少车身侧倾。如果车身侧倾过大,需要更换更硬的防倾杆(或者降低车身几毫米,这也有帮助)。 如果感觉车辆抓地力不足(在漂移车里说这个听起来很奇怪,我懂的),可以尝试不同的轮胎。我通常一开始会全车使用侧偏轮胎,但如果后轮加速不够快,或者出现失控情况,就会换成KM1甚至KM2轮胎。 你不需要追求极致的动力。有时候(比如我的维斯塔),小排量发动机的表现可能和大马力发动机一样好,甚至更好。多尝试不同的配置。找出你喜欢的调校,以及什么样的涡轮适合它(如果你确实需要涡轮的话)。 从0度附加转向角开始。如果你发现在弯道中无法足够快地反向打方向盘以保持你想要的角度,就调到+5度。如果还是不行,就调到+10度。如果这样仍然不行,你就需要重新考虑你的调校了,因为可能有其他因素在妨碍你。 最后一个建议: 如果你在调校漂移车辆时遇到困难……寻求帮助。我们作为一个社区,就是来互相帮助的(就像你们很多人在玩MT时可能看到的那样)。我们中有些人比其他人更有经验。但他人的意见永远不会有坏处。我自己在调校Panther(MX5)漂移时就不得不寻求帮助,因为我无法为它做出稳定的调校。如果你在调校时遇到困难,向他人寻求建议并没有什么坏处。
《Motor Town: Behind The Wheel》0.7.18版本更新内容 1.新增【超大型货物运输】功能 2.新增【护送任务】玩法 3.新增【多轴拖车】载具 4.新增【公司出租车】模式 5.其他更多内容优化
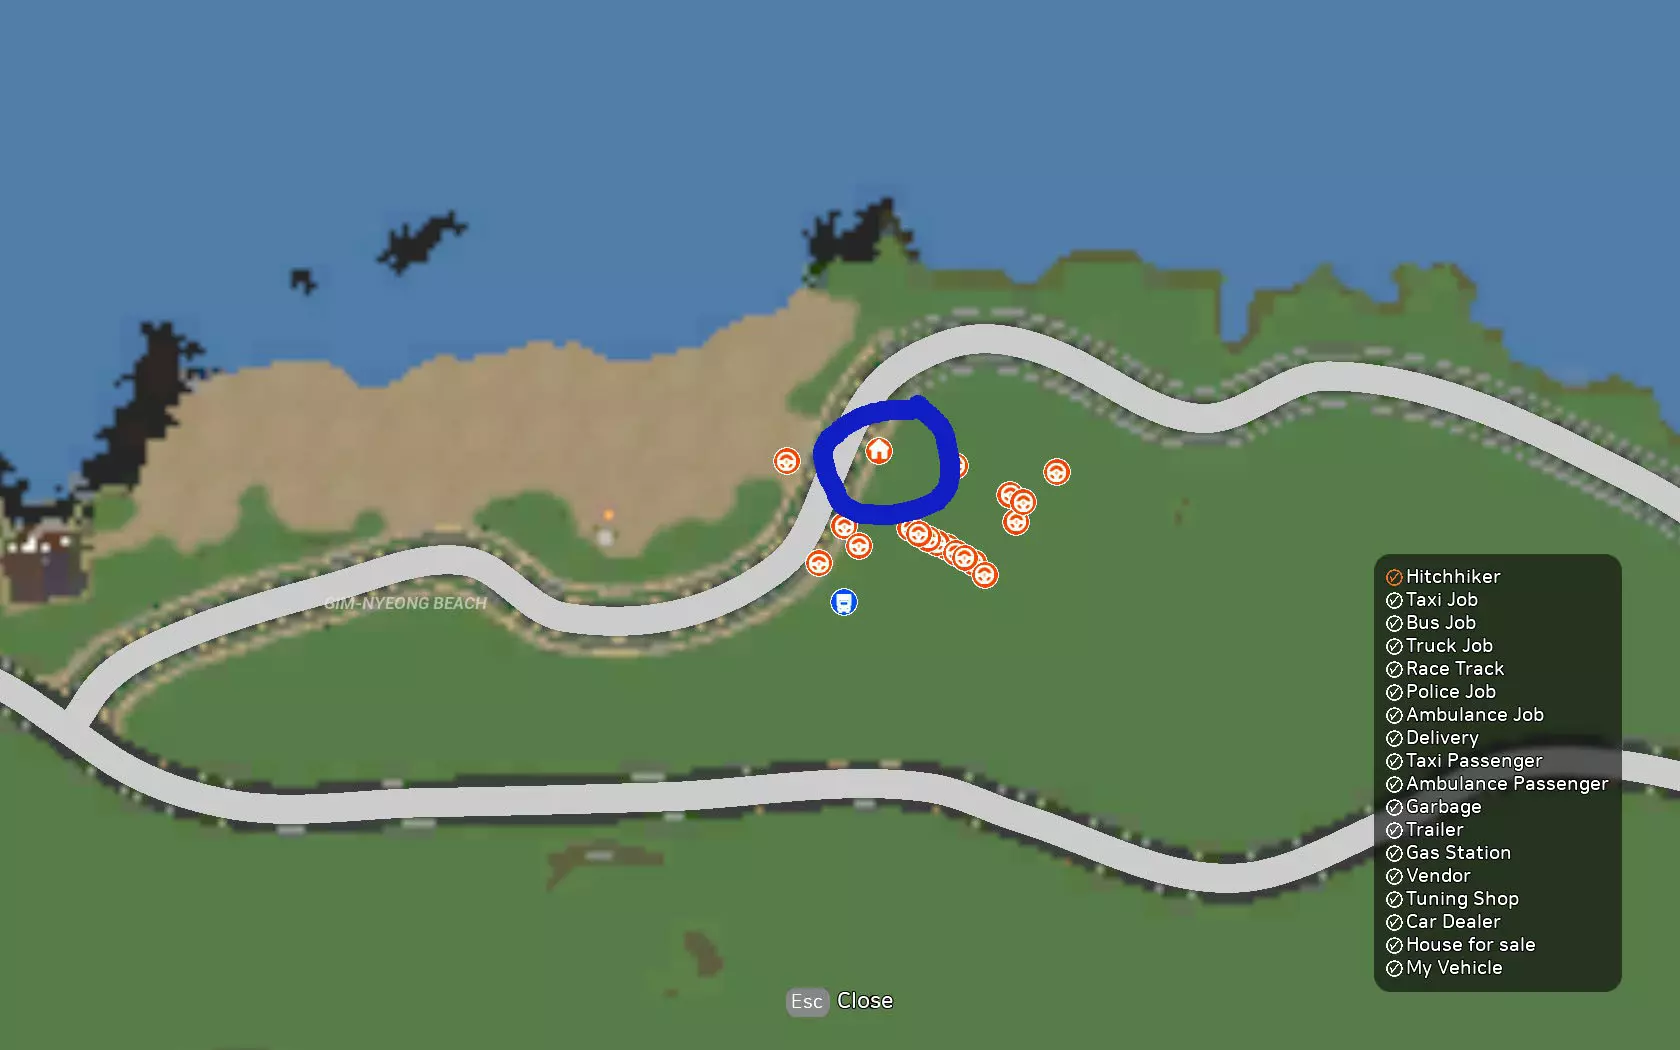
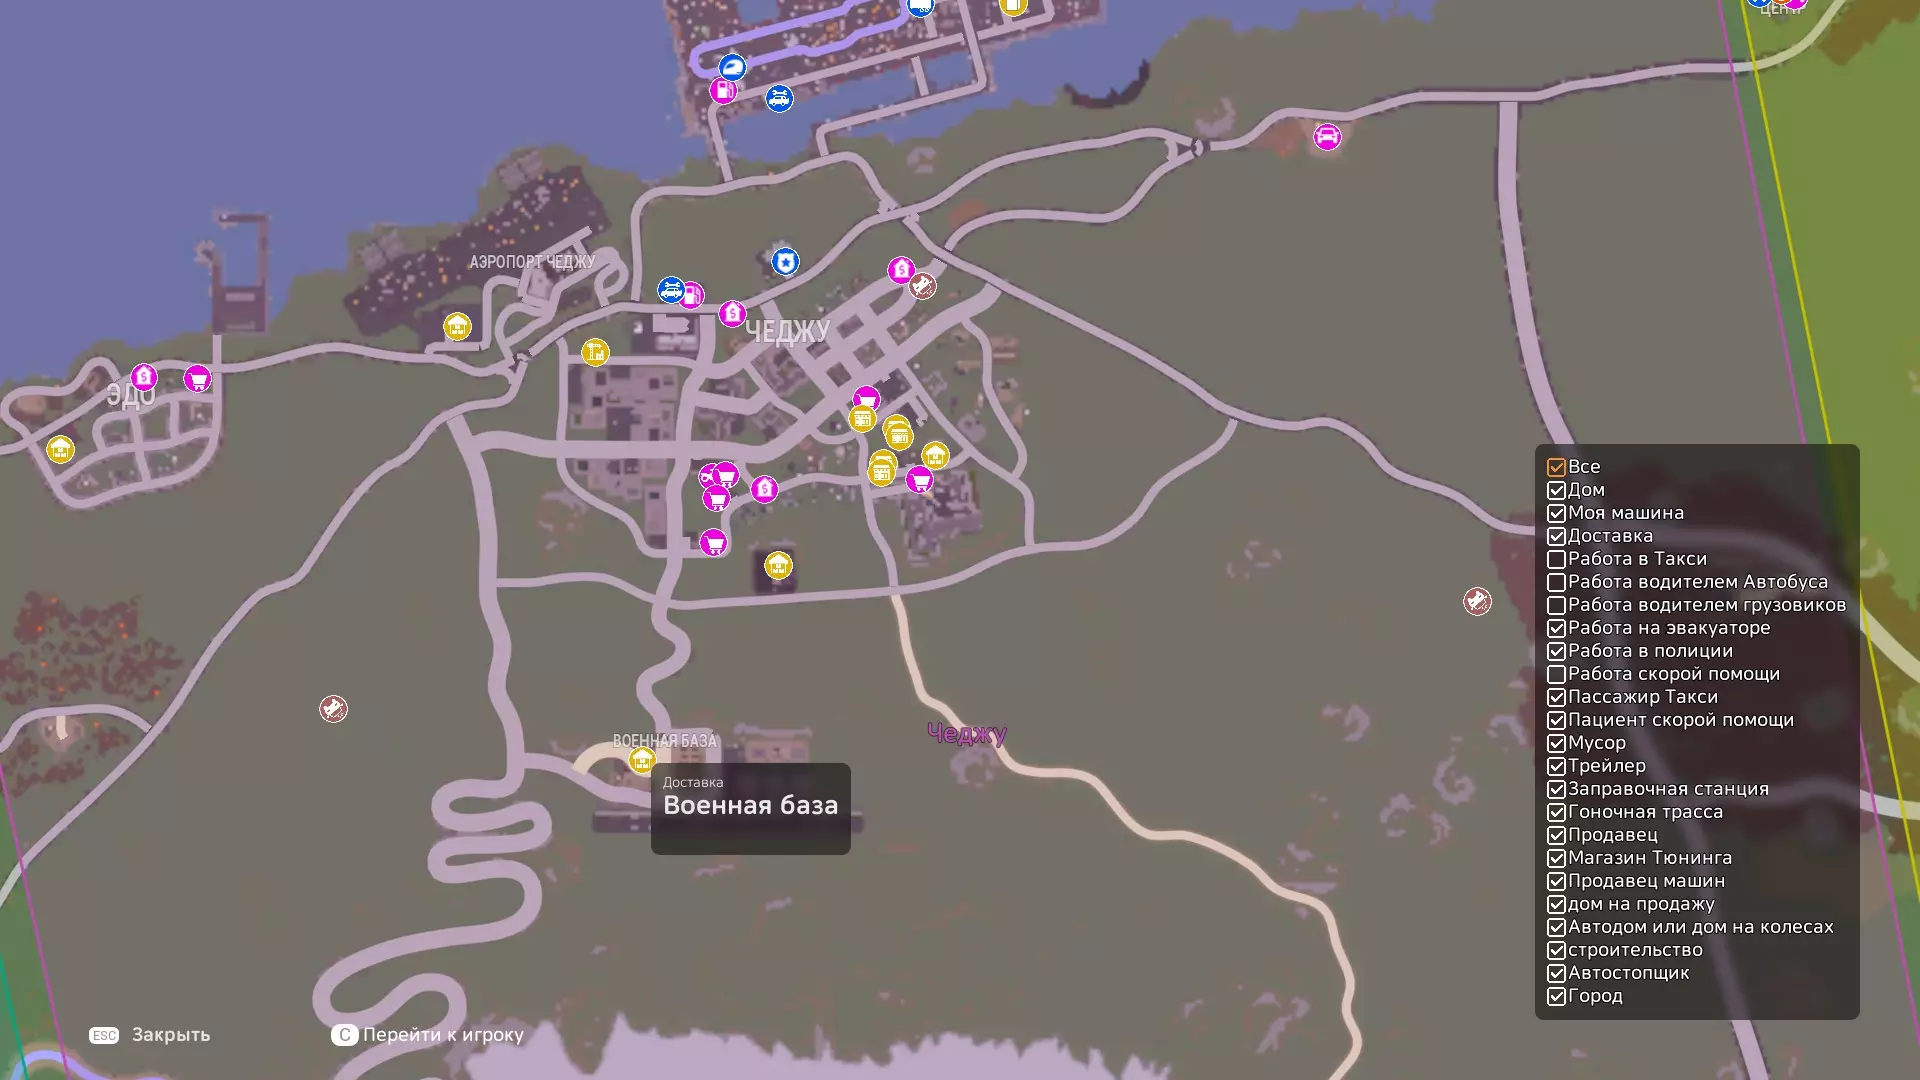
以下是所有初始可购买地产的列表,包含其面积大小和价格信息。 注:此处列出的均为游戏初始阶段即可购买的地产。目前尚不确定随着城镇发展进程是否会解锁更多地产(个人推测不会,因为地图上虽存在锁定的加油站,但未发现锁定的地产)。主岛(从济州岛开始顺时针环绕岛屿) 位置 - 尺寸 - 价格 济州中部 - 20米×20米 - 300,000美元 济州南部 - 30米×30米 - 280,000美元 济州东部 - 50米×50米 - 400,000美元 金宁海滩 - 50米×50米 - 200,000美元 古瓦海滩边 - 45米×45米 - 30,000美元 古瓦中部 - 50米×50米 - 500,000美元 古瓦西南远处 - 30米×30米 - 30,000美元 城山 - 20米×20米 - 50,000美元 表善渔村 - 20米×20米 - 80,000美元 南 Gangjung - 50米×50米 - 350,000美元 西 Gangjung - 30米×30米 - 200,000美元 新昌 - 30米×30米 - 100,000美元 翰林渔村 - 20米×20米 - 80,000美元 涯月 - 20米×20米 - 50,000美元 外岛 - 23米×20米 - 50,000美元 小伊岛(从最北端地产到最南端地产)位置 尺寸 价格 东南部 比阳 30米×30米 150,000美元 远西部 比阳 50米×50米 300,000美元 东北部 东山 30米×30米 120,000美元 远东南部 米格姆 50米×50米 300,000美元 中部 加帕 30米×30米 100,000美元 南部 加帕 30米×30米 50,000美元 东部 广津 20米×20米 180,000美元 东南部 广津 30米×30米 250,000美元 北北 迎日 50米×50米 100,000美元 南北 迎日 50米×50米 100,000美元 东部 堤一 50米×50米 80,000美元 东南部 三和炼油厂 50米×50米 300,000美元 西南部 三和炼油厂 30米×30米 150,000美元 备注:游戏地图上现在显示以米为单位的地产尺寸,两个柱子之间的每个间隔为2米。 制作本指南是因为目前相关信息似乎非常匮乏。维基百科上几乎没有内容,而且这里一半的指南都已过时。(事实证明,本指南现已成为过时指南之一,我已经好几个月没玩了,所以我确定这里的一些信息已经过时,但希望不会相差太多。) 我计划在未来添加截图,届时可能会完全弃用表格格式并采用其他形式,目前还不确定。不过,一开始还是保持简单,尽管将所有内容整理成表格花费了不少时间。 2025年9月6日 - 正在更新本指南 :) 2025年9月7日 - 指南已更新 :3


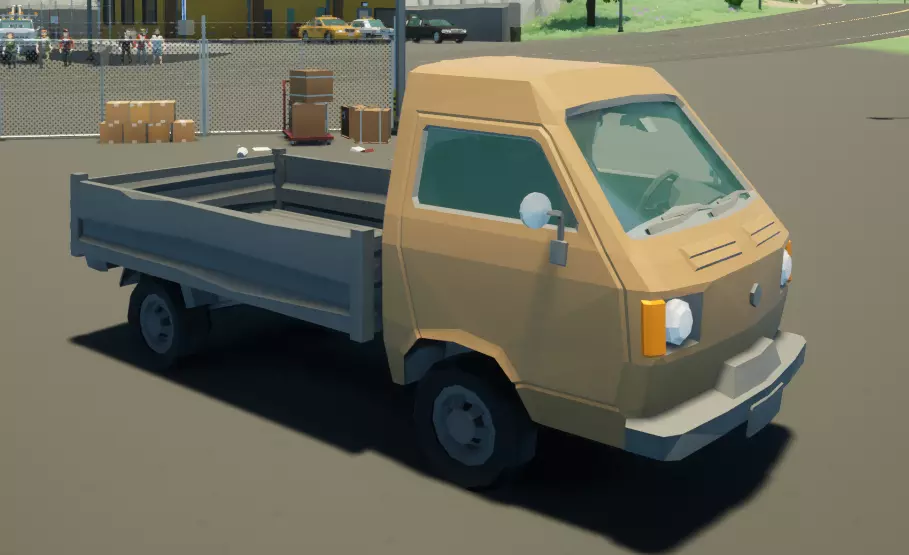
快速提升你的早期进度!本指南将展示如何高效赚取收益、快速升级并避免常见错误——所有这些都通过高效的载具租赁和明智的任务选择来实现。非常适合新玩家或新开存档的玩家。 初始策略 目标:在进行重大购买前,将驾驶员等级提升至10级,卡车等级提升至10级。 方法:使用载具租赁,避免燃油、维修和拥有成本。 原因:租赁载具始终满油且状态完好,无需维护。 初始载具 推荐:Ranchy(自带拖车钩) 备选:Dory厢式货车(同样默认配备拖车钩) 提示:在游戏初期,租赁载具比购买更具成本效益。主要赚钱方式 - 垃圾收集 载具:压缩式垃圾车(租赁) 成本:每10分钟450美元 收益:满载可获得80,000–90,000美元 运作方式: - 只有驾驶垃圾车时才会显示垃圾图标 - 部分垃圾桶会自动装载到压缩机中 - 手动收集:捡起垃圾袋并扔进后部车厢 - 压缩机装满后仍可继续携带额外的垃圾袋 垃圾袋价值:每个约2,000美元(0.2–0.每袋5千克。卸货点:发电厂。自动装载的货物会立即售出。手动装载的袋子必须逐个卸下。 【“清理城镇”奖励机制】:完成垃圾运输任务后,工作报酬最高可提升20%。 效率提示:城镇内的垃圾桶在完成一次完整循环后会重新生成。 策略:之后可重复使用同一个城镇来轻松进行多次运输。 捷径提示:卡车空载时可选择越野行驶以节省时间。 核心游戏系统 租赁:无限使用,无需维修和燃油费用,且易于更换。 罚款:超速行驶和逆行会被罚款。闯红灯或无视停车标志不会受到处罚。警察目睹撞车事故后会进行追捕。 贷款:每个司机等级最多可借10,000美元(最高300,000美元)。最佳选择:实时1小时还款(利息仅约5,000美元)。贷款为可选功能,并非必需。早期收益强劲 进度快照 司机等级:5 卡车等级:21 收益:约134,000美元 游戏时间:约1小时 下一目标:购买自卸卡车(约150,000美元)-解锁高薪运煤任务 遵循此路线可实现快速、低风险、高回报的开局。无需浪费资金,无需不必要的刷取,只需稳步发展以获取最高薪合同。